Angel Color Settings
Angel Color Settings
Controlling Angel Color Settings with Graph Edit Utility
1.
Download and unzip Graph Edit utility.
2. Run Media Center and enter your regular Live TV mode.
3. Run Graph Edit (graphedt.exe) and click on "Insert Filter..." button:

4. Find and expand (click on "+") "WDM Streaming Capture Devices" category:
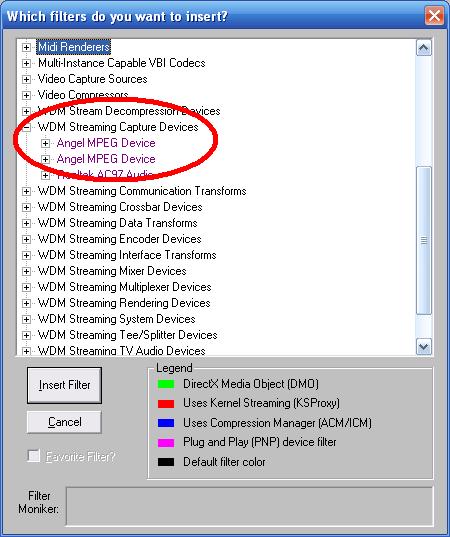
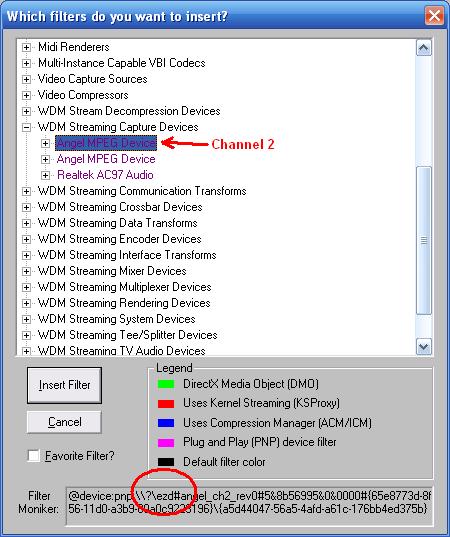
5. Select "Angel MPEG Device" for channel 1, which is usually used by MCE in "Live TV"
mode. As a check point look at the Filter Moniker string at the bottom. Channel 1 has "...pci..."
string and cannel 2 has "...ezd#angel_ch2..." string. After selecting (highlighting) channel 1
crossbar press "Insert Filter" button:

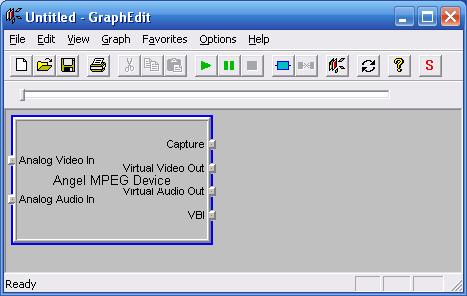
6. After "Angel Crossbar" filter is inserted the "Insert Filters" window can be closed:
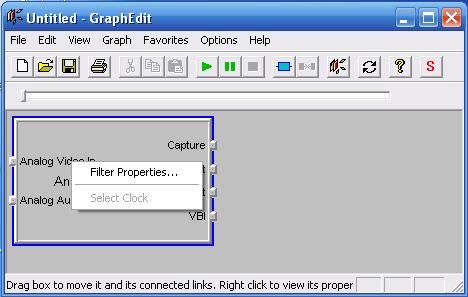
7. Right-click inside the rectangle of "Angel MPEG Device" filter and select "Filter
Properties...":
..."Angel MPEG Device Properties" window will show. Make sure "Video Proc Amp" tab is selected:
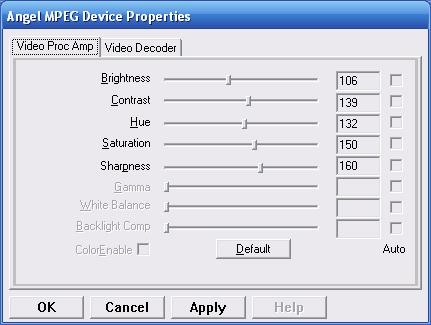
Now you can play with the available color settings.
Please note the following:
-
There will be an approximately 3 second delay. This is due to the "Time Shift" buffer used by
Media Center for pause live TV feature
-
You can always go back to original settings by clicking on "Default" button.
-
Once you found the settings you like - set the same values to the other channel. You can actually insert
second "Angel MPEG Device" into the same graph and have both channels property windows opened
at the same time. That way you do not need to write down your settings and just copy them to the
other window.
-
The settings should not change if you reboot the machine. Go ahead and reboot, then see if your settings remain...
October 12, 2010
